How to use the tracker
The tracker is your private copy of the Pope’s route: you plot the rooms he moves through, one Movement Tile at a time, and it remembers where he could end up. Everything saves automatically on this device, so you can close the page and pick up where you left off.
Starting a new game
- Tap New game above the map. (The first time you open the tracker, this happens on its own.)
- Pick the board you’re playing on. The newest board is listed first.
- Tap the room the Pope starts in. That room becomes the start of his route.
New game wipes everything: the plan, every route and the Pope’s position. If you tap it by mistake, Cancel leaves your game alone, and Undo brings it back if you already picked a board.
Plotting a turn
The tracker works through the Pope’s movement one tile at a time. The header shows where you are, for example Tile 2 · A · Room 3: you’re on the second tile, plotting branch A, and its route currently ends in room 3.
- Tap each room the Pope moves into for this tile, in order. You can tap anywhere on a room’s floor.
- When the tile is finished, tap Next tile →. The route you just drew turns into “earlier” marks and the Pope starts the next tile from where it ended.
- Only rooms that share a doorway with the current room can be added. To move further, tap each room along the way.
- The tracker doesn’t work out the Pope’s movement for you. You decide which rooms he moves through; it only checks that each step goes through a doorway.
- Door markers aren’t tracked. Check the physical board for which doors are closed.
- ↶ Undo steps back through any change: a room, a branch, a tile, a plan edit or a new round.
Pope Movement Tiles (optional)
The row of tiles under the map is the Pope Movement Plan. Entering it is optional: it’s there so you can see which tile you’re plotting. The tracker never moves the Pope based on the tiles, and you can plot a whole game without adding any. Without tiles, Next tile still moves you on to the next tile number.
Adding and removing tiles
- Tap the dashed + at the end of the row to open the tile drawer.
- Tap tiles in the order they appear in the plan. Each one is added to the end of the row.
- To remove a tile, tap its red × in the drawer. Removing only works in the drawer, so you can’t delete a tile by accident from the row under the map. Tiles you’ve already finished can’t be removed.
- Tap Done to close the drawer.
You can add tiles at any time, before or while you plot.
What the row shows
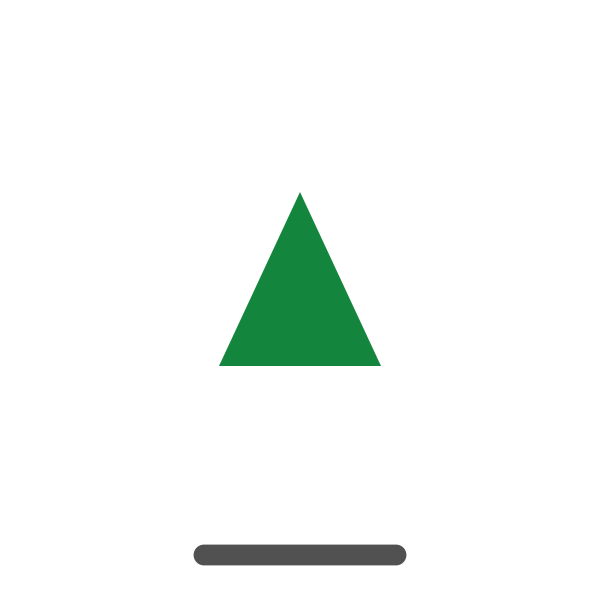 1
 2
 3
After the last tile in the plan, Next tile changes to New round ↺ (see Rounds).
The tile icons

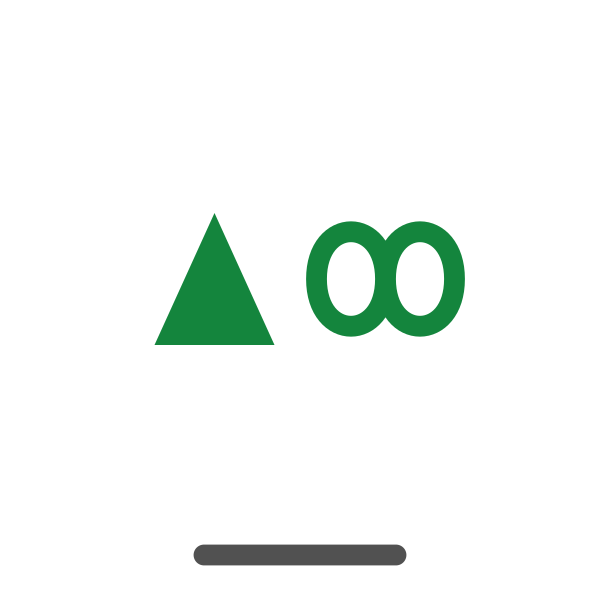


Branching
When the Pope could go more than one way, plot each possibility as its own branch. Every branch has a letter and a color: A is yellow, B is blue, and so on. Up to eight branches can be plotted for a tile.
Starting a branch
- Tap ⑂ Branch, then tap the room the new branch starts from, usually the room where the routes split. Tap Branch again to cancel.
- Shortcut: tap a room that’s already on the current branch’s route for this tile. A new branch starts from that room.
The new branch becomes the one you’re plotting. Tap rooms to continue it as usual.
Switching branches
- Tap the end of another branch: its colored room or its letter tag.
- Or tap the colored button in the toolbar, which shows the branch you’re plotting and steps through the others.
If the room you tap is a legal next step for the branch you’re plotting, the tap moves that branch there instead of switching. Tap the letter tag to switch in that case.
Crossing and merging
Branches can cross each other while you plot a tile. Only where they end matters: when you tap Next tile, branches that end in the same room merge into one, keeping the earlier letter. Branches that end in different rooms carry on separately into the next tile, each starting from its own end.
Rounds
A round is one pass through the plan. When the Pope has moved through every tile, start a new round:
- Tap New round above the map, or New round ↺ in the toolbar once you’re on the last planned tile.
- The Pope stays where his branches ended. Branches ending in the same room merge.
- The plan row, the route lines and the “earlier” marks are cleared, and the tile count starts again at 1. Add the next round’s tiles with +.
New round keeps the Pope’s position; New game clears it. If you didn’t mean to start a new round, Undo brings the previous round back.
Reading the map
Route lines show this tile only, drawn through the doorways. A dashed circle marks where each branch started this tile. The branch you’re plotting is drawn thicker, and its end has a white outline.
© 2026 Will Daley d/b/a BrainDodge Studios. All rights reserved.